
|
|
Home
>
Wireless Network Information
>
Troubleshooting
>
Restoring Automatic Network Settings
|
|
Restoring Automatic Network Settings
|
| Updated 07/07/2017 |
| |
|
Steps for Windows 7, 8.x, and 10
|
|
Scroll down for Macintosh OSX instructions.
|
| |
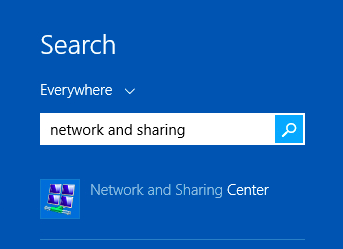
1. In the Start Menu, type "network and sharing" into the Search box, and select "Network and Sharing Center" when it comes up.
If you are in Windows 8.x it will be on the Start Screen itself, like the image below.
|
|
| |
|
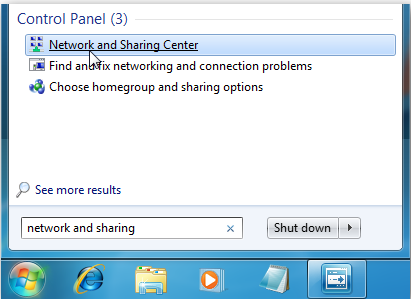
If youre in Windows 7 or 10, it will be in the start menu, like the image below.
|
|
| |
2. When the Network and Sharing Center opens, click on Change adapter settings as shown below.
This will be the same on Windows 7 or 8.x or 10.
|

|
| |
|
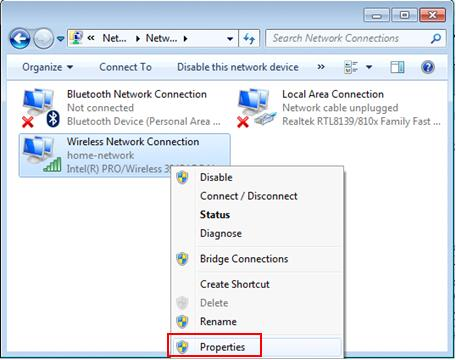
3. Right-click on your the adapter labeled "Wireless Network Connection" and select "Properties" as shown below.
|
|
| |
|
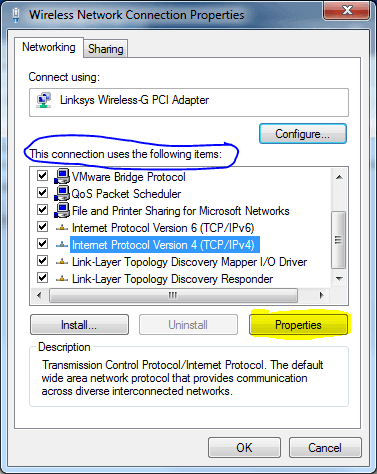
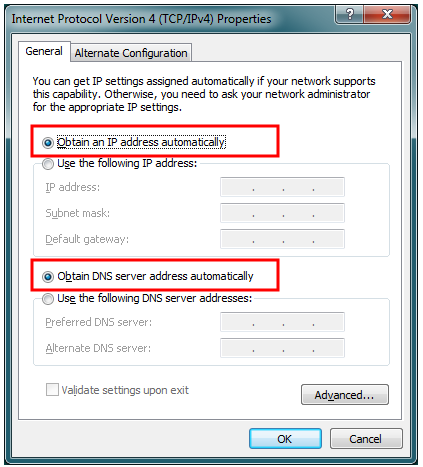
4. In the Wireless Network Connection Properties window, highlight "Internet Protocol Version 4 (TCP/IPv4)", then click the Properties button as shown below.
|
|
| |
5. Verify that the radio button beside "Obtain an IP address automatically" is selected as shown below.
6. Verify that the radio button beside "obtain DNS server address automatically" is selected as shown below.
7. When youre finished, click OK.
|
|
| |
| |
|
Steps for Macintosh OSX
|
|
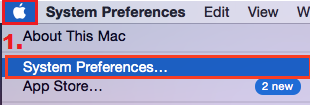
1. Click the Apple icon (top left corner), select "System Preferences" as shown below.
|
|
| |
|
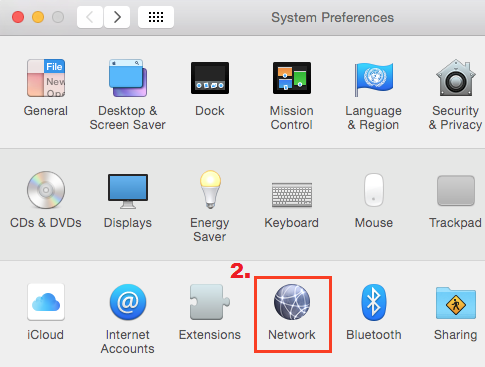
2. Click the Network icon as shown below.
|
|
| |
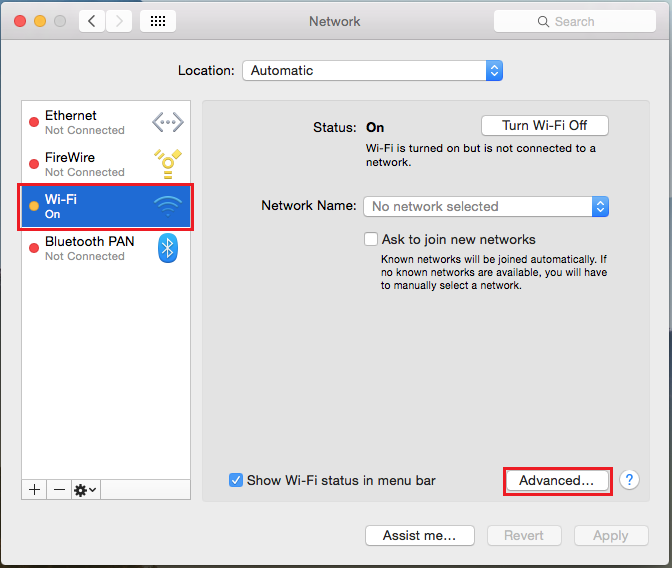
3. Select Wi-Fi from the side menu.
4. Click the Advanced button as shown below.
|
|
| |
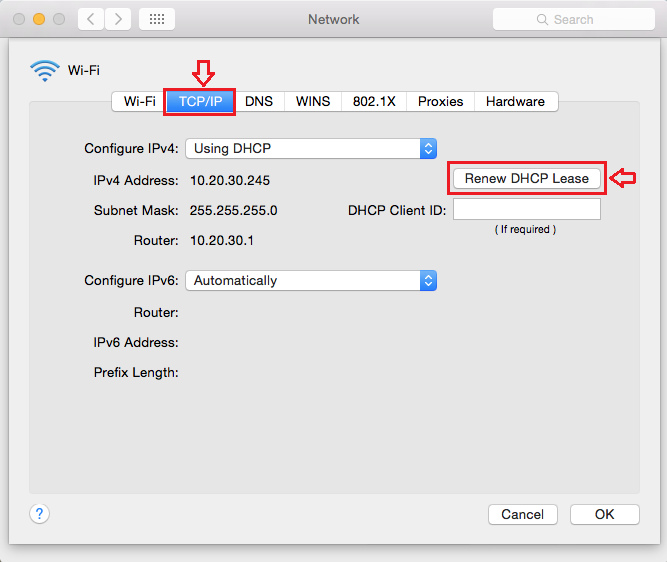
5. Select the TCP/IP tab.
6. For "Configure IPv4" - Select "Using DHCP".
7. For "Configure IPv6" - Select "Automatically".
8. Click the "Renew DHCP Lease" button as shown below.
|
|
| |
|
If you have problems or questions please contact the Wilson College Helpdesk:
|
| |
| |